Installation
Before we start anything make sure take backup files and database of current state to prevent any problem in future we are not responsible for any damage you made later.
Minimum Requirement:
PHP Version 5+
MySQL Version 5.1+
WordPress 3.x or later
eCommerce Plugins Woocommerce
Installation:
Download theme file from My Account – Download section http://www.insertcart.com/my-account/ (If you are having any problem in download then contact us) after download upload main theme your-theme-file-name.zip via FTP or WordPress upload. As ftp software you can use Filezila or any other ftp client. if you are upload via WordPress upload then navigate to:
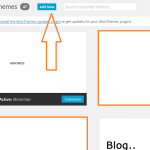
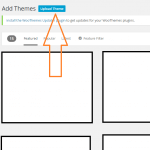
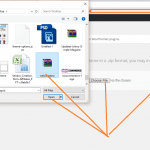
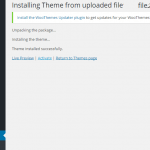
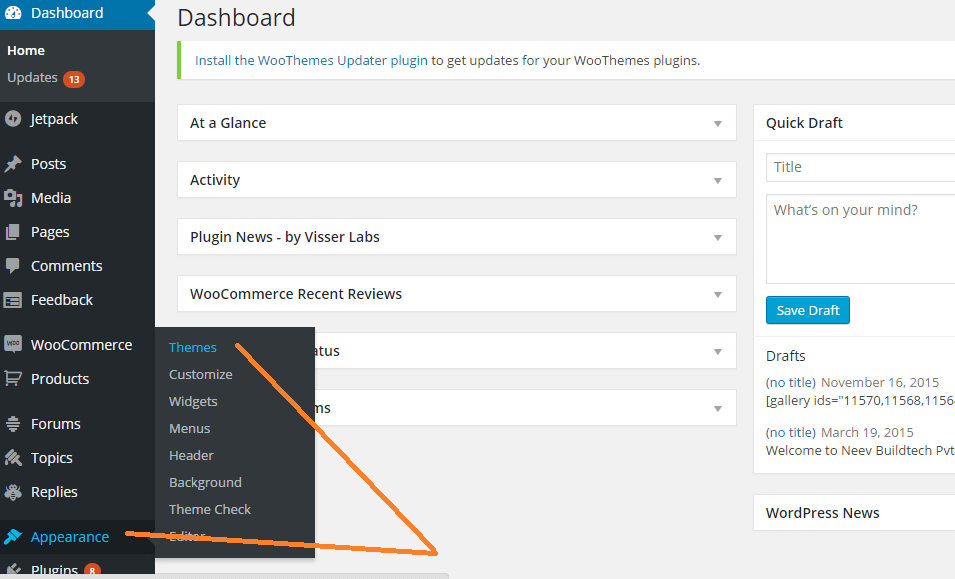
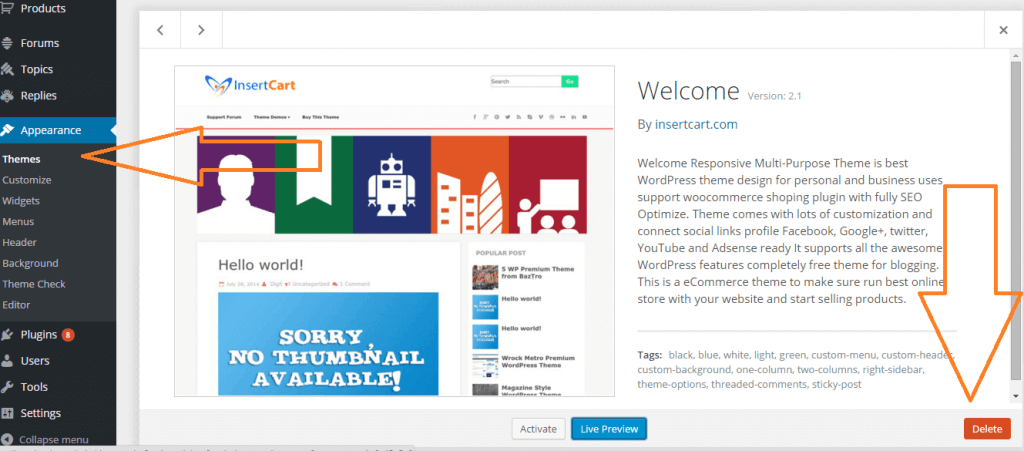
After login into website Dashboard > Appearance > Theme > Add New > Upload Theme > Choose file > Install now. After successful upload Activate the theme.
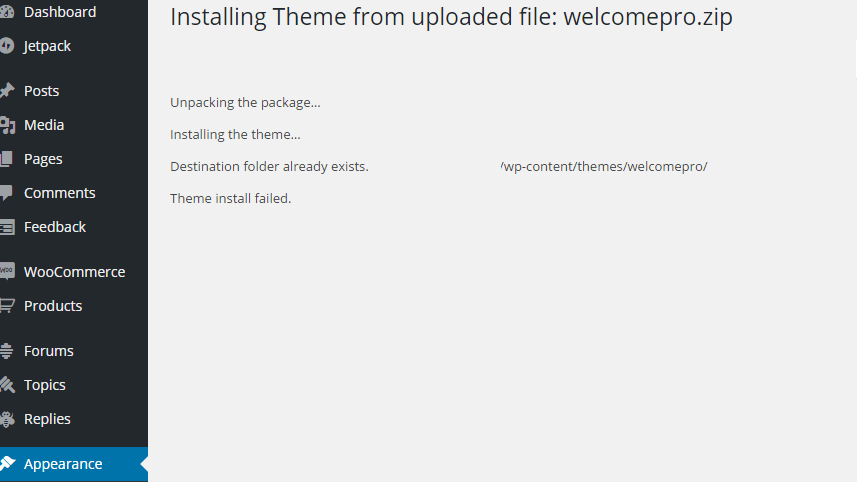
In any case if you get error like theme file or folder already exist then you need to remove previous version first.
Please Note: You must disable any caching plugin (like: w3tc, wp super cache) while setup theme because result might have some delay or not visible.
Also for first time setup you should restore default theme option to prevent any error or wrong value saved on database.
- Display image of post thumbnail or featured
- Adding menu into Theme
- How to Adjust Number of Block and Thumbnail Image Size
- Add Ads code in your theme
ProMax Theme Options
Some of option doesn’t work for Free Version of theme user you need to Pro Version of theme to work all these options Purchase here
Theme Options
- Upload Favicon icon of website image must in .ico or png format
- Upload website logo keep ratio in 478px X 88px max.
- Show author profile below every posts and page you fill author details from Dashboard > Users > Your Profile > Bio. Fill you details here.
- Latest Post Show Below Navigation
- Change Color of latest post title link
- Change color latest post hover color
- Title on Index post bar anything you want
- Change numbers of latest post to display below navigation.
- This option allow to enable or disable popular post in sidebar.
- Chnage numbers of popular post to show.
Social Media
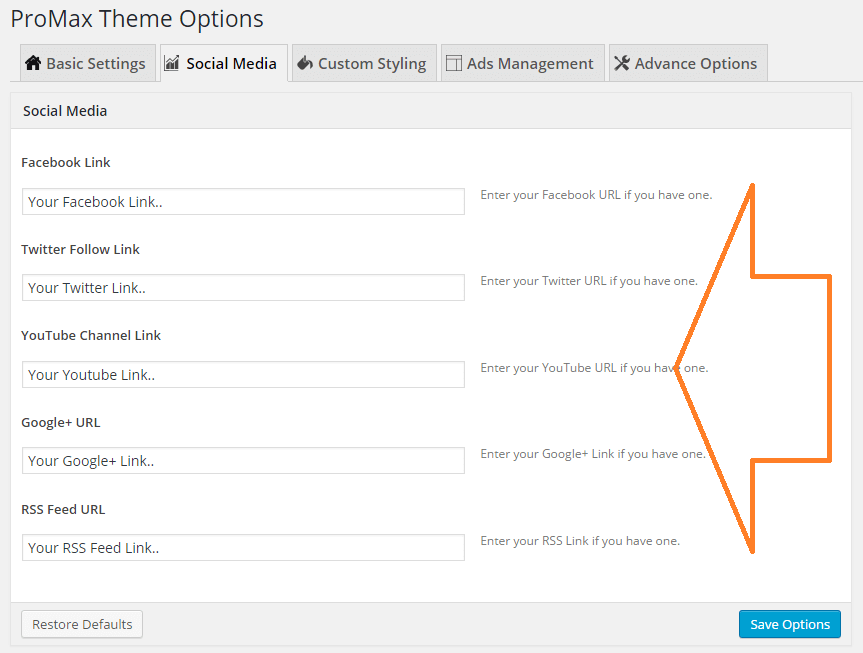
Social media icons allow you to put link to your social profile paste with http:// on their respective website and save options. Icons will be display on top navigation bar like shown in above Image .
Custom Styling
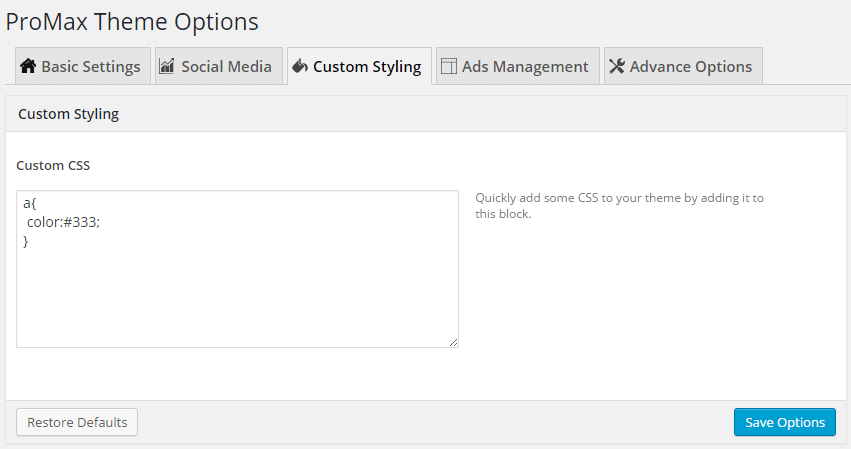
Use custom styling to put CSS codes this allow you to save these code in on theme update. Don’t edit style.css use this area for styling.
Advertisement
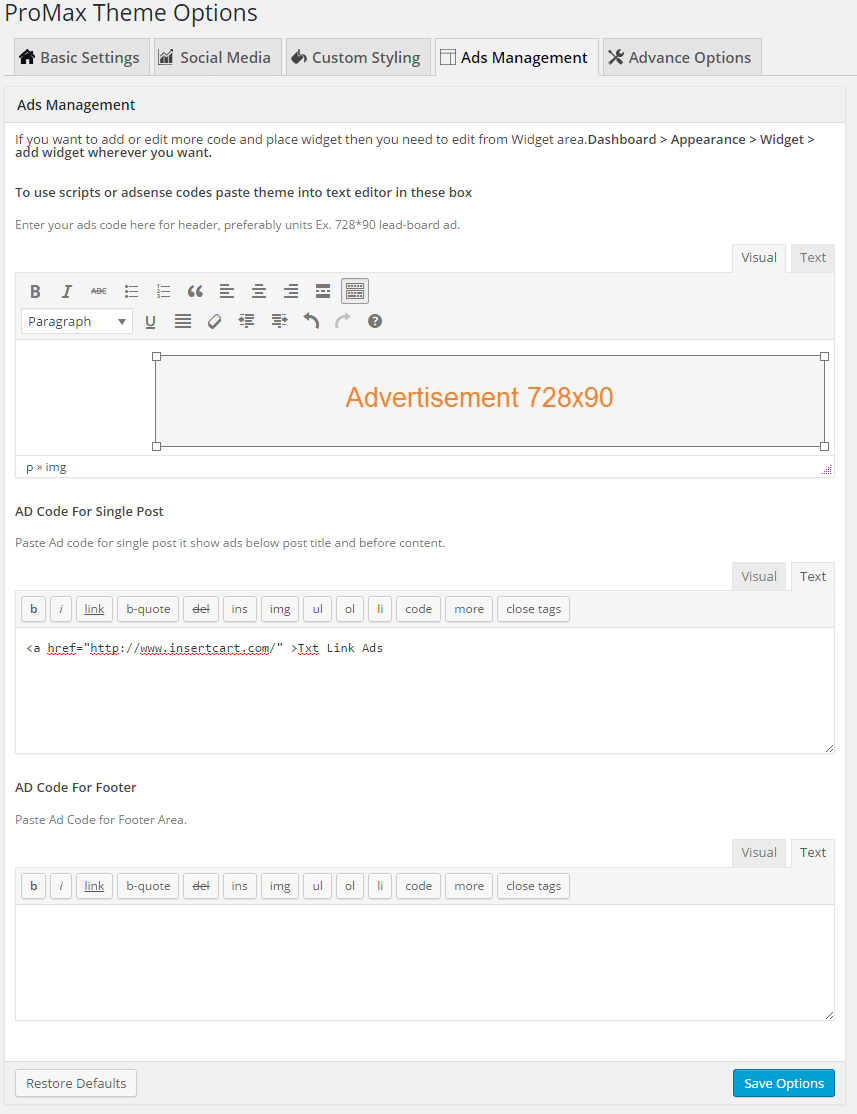
This is for different area of advertisement within theme you can add Banner Ads, Text Ads, or HTML codes whatever you want. TEXT mode for html and codes and Use Visual mode for writing or copy paste.
Top box is use you header banner aside from logo or text ads like 728*90px
Second box use for advertisement in single post its will display ads just above every single post content.
Third box that will display ads on footer below navigation on Index Page and some other pages as well.
Advance Options
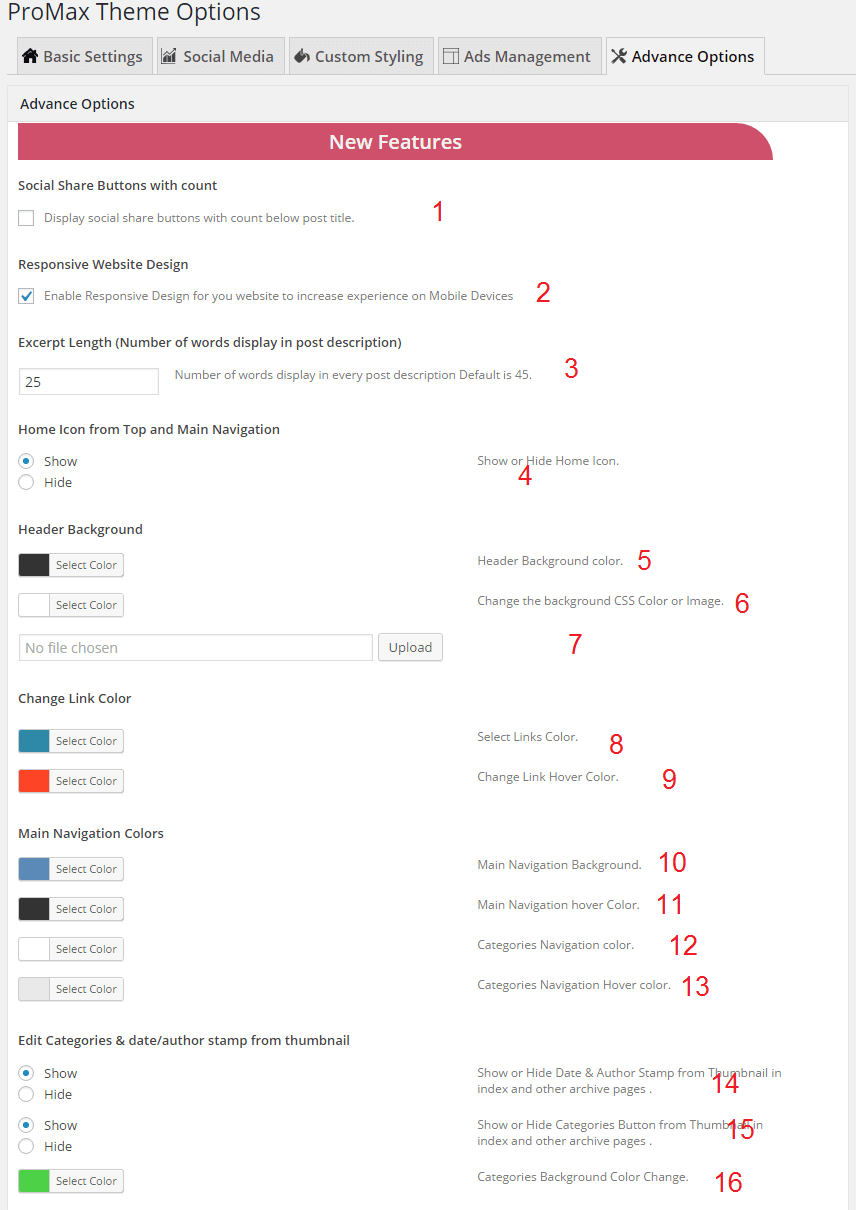
- Social share button it allow you to directly share posts to social website visitor can also share them and show numbers of share it will display below every post.
- Responsive website design option only a premium features that allow user to view your website in mobile and tablets as well.
- Excerpt Length number of words display in post description on Index page and other archive pages. You can control it from here.
- Enable or disable home Icon from Main Navigation
- Header Background color you can also use customizer to change color and image of background. Appearance > Customizer.
- Website background color change choose whatever color you want it apply on whole website.
- This option for website background image change.
- Change link color choosing link color will change all and every link color into posts and page even on whole website.
- This change link hover color.
- Main Navigation background color change
- Main navigation hover color change
- Bottom navigation color change
- bottom navigation hover color change
- This option hide Author and Date stamp from post on Index page and archive page.
- Show or Hide Categories Button from Thumbnail in index and other archive pages.
- Categories Background Color Change on post stamp index and other archive pages.
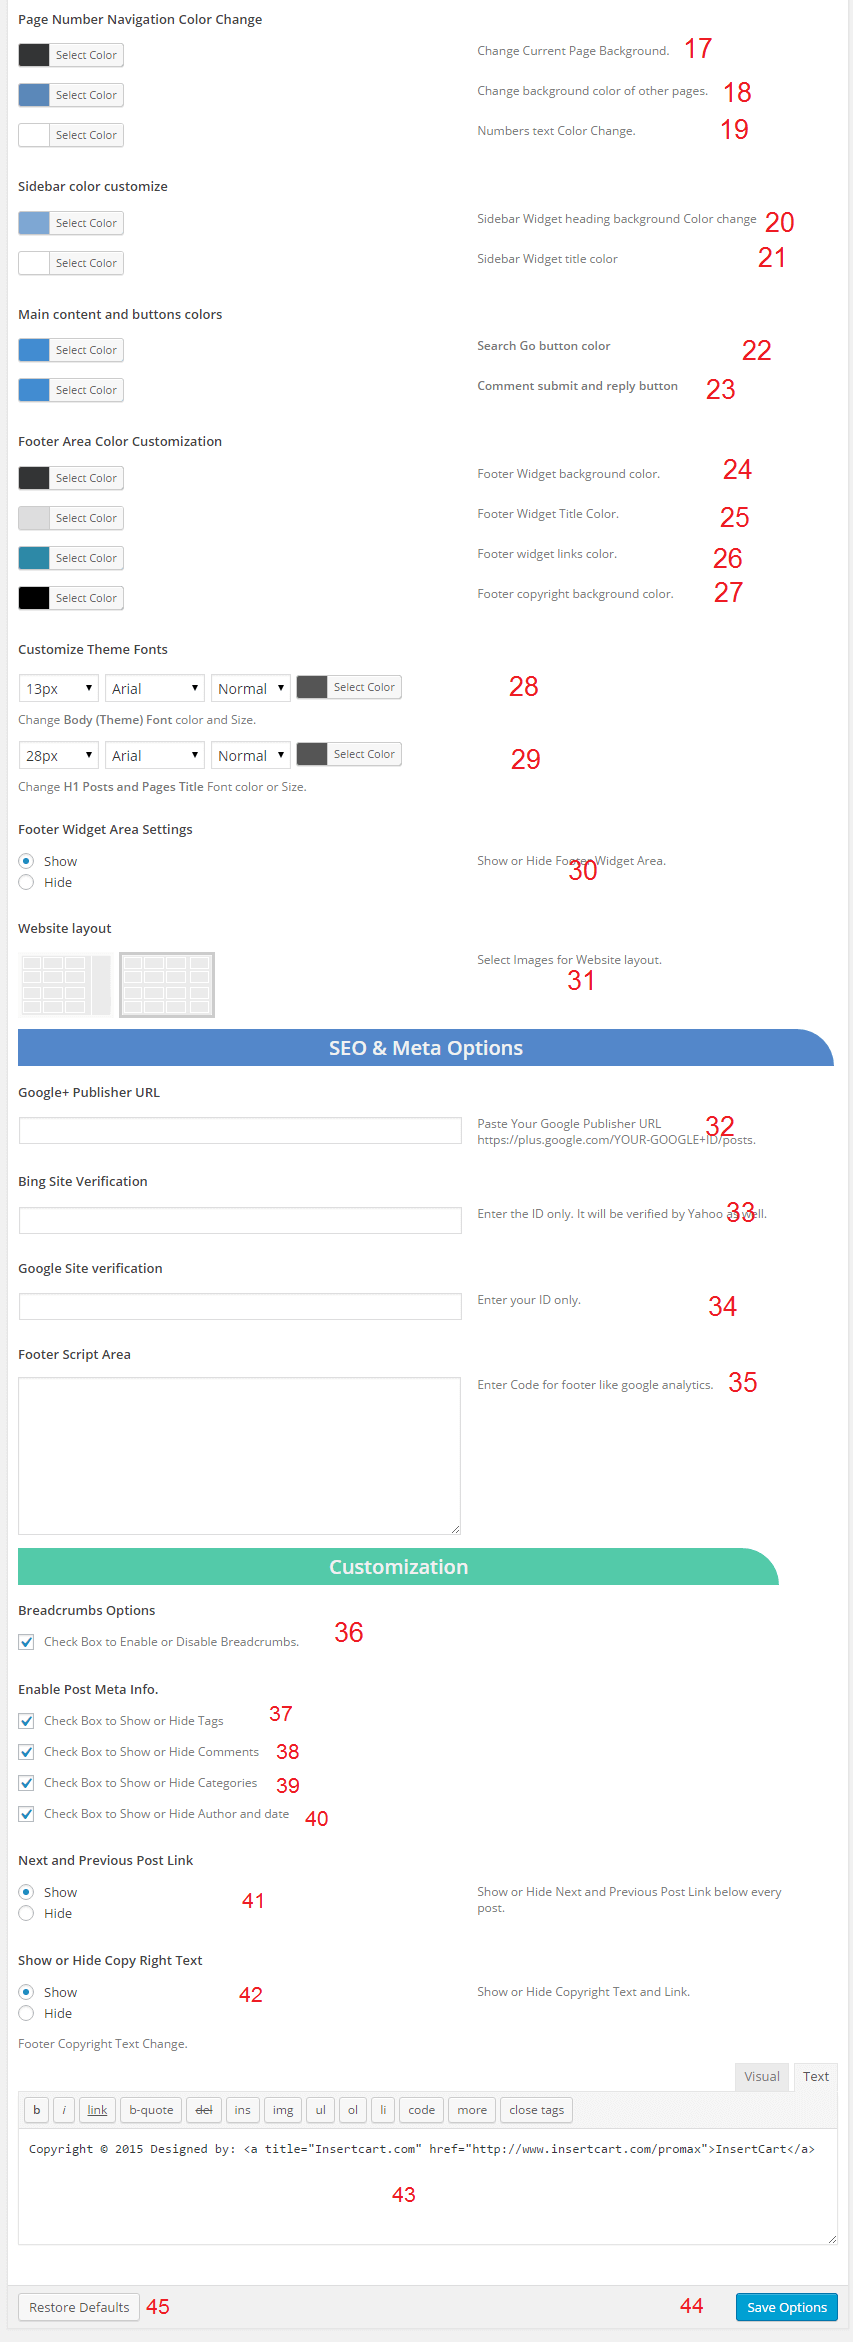
- Bottom Pagination [1, 2, 3…] on Index and other archive pages change the current paged background
- Change background of other pagination numbers
- Change pagination text color
- Sidebar widget heading color change
- Sidebar widget text color.
- Website search button color change
- Change comment submit and reply button color.
- Change Footer Widget background color from this option.
- Change Footer Widget title text color from this option.
- Change Footer Widget link color from this option.
- Footer copyright background color
- Theme font color and size change
- H1 heading font color change mainly post and page heading.
- Show or Hide Footer Widget Area.
- Select Images for Website layout type.
- SEO and meta option put here google plus profile link
- Bing site verification meta code
- Google website verification code get from webmaster tool
- Footer script put here any script like analytics or any other
- Check Box to Enable or Disable Breadcrumbs from post and pages
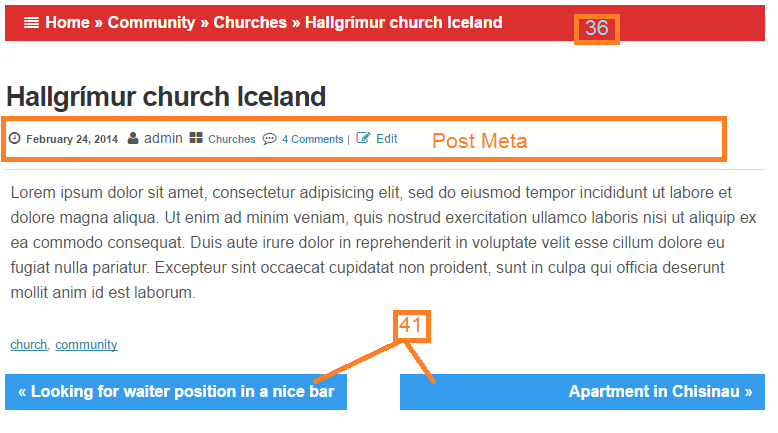
- Post meta data information below every post: Hide Tags
- Show or hide comments
- Show or hide categories
- Show or hide author name and date
- Next and previous post link in below every post
- This option allow you to hide or show copyright text from footer.
- Put anything on copyright place
- Save option
- Restore default – Reset to default setting comes with theme.
FAQ:
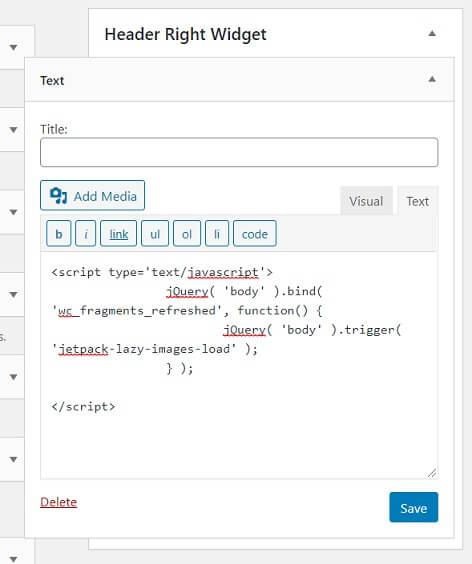
Go to Dashboard > Appearance > Widgets > Add Text or HTML Widget to header or any section and paste your ad code.
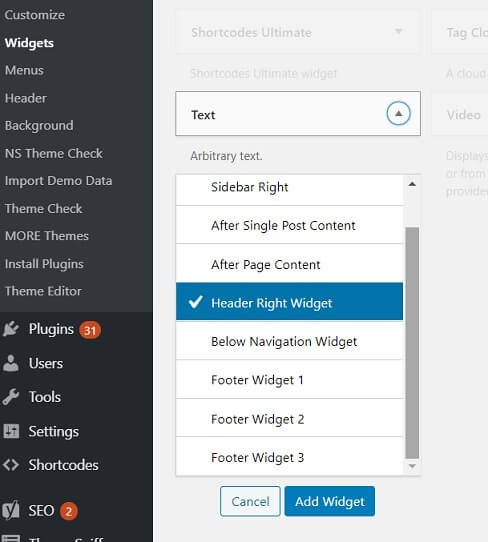
Now Click on Text tab in Widget and paste your ad code here
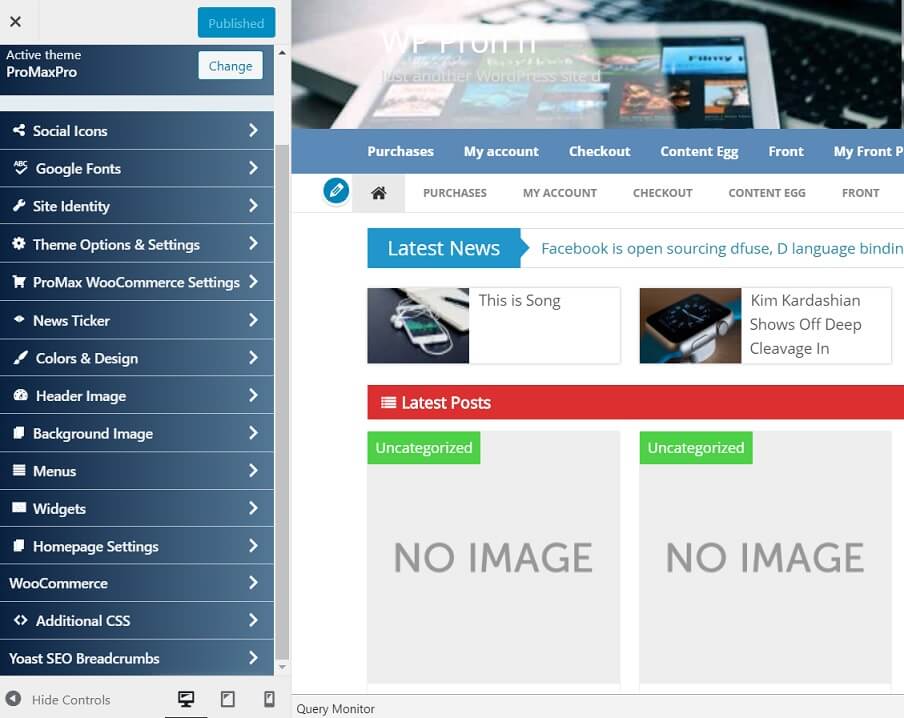
You can select individual post or page layout style from any post while editing or creating new post, by selection style from right side as shown in picture
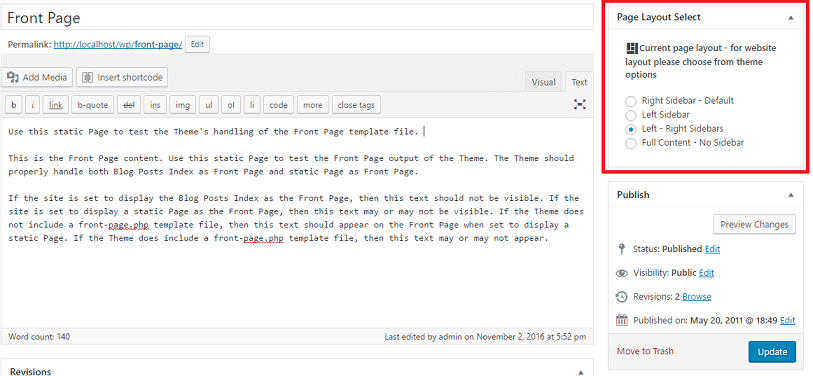
If you want to change layout of whole website then go to Theme Options and change layout from there if you selected single post then it will not overwrite settings.