Please note: Free theme users have only access to theme customizer but Pro users also gets a dedicated option panel with theme and much more features as well you can Upgrade to Pro here
- Installation Tutorial
- Basic Setup
- How to Add Logo
- Add Featured Thumbnail Image in Post
- Set Menu in Theme
- Layout for Post and Pages
- Profile Setup in Sidebar
- Add Process Bar to Sidebar Profile
Installation
Before we start anything make sure take backup files and database of current state to prevent any problem in future we are not responsible for any damage you made later.
Minimum Requirement:
PHP Version 5+
MySQL Version 5.1+
WordPress 3.x or later
eCommerce Plugins Woocommerce
Installation:
Download theme file from My Account – Download section http://www.insertcart.com/my-account/ (If you are having any problem in download then contact us) after download upload main theme your-theme-file-name.zip via FTP or WordPress upload. As ftp software you can use Filezila or any other ftp client. if you are upload via WordPress upload then navigate to:
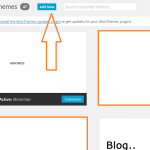
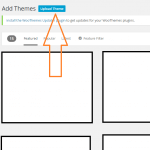
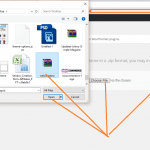
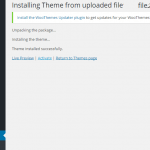
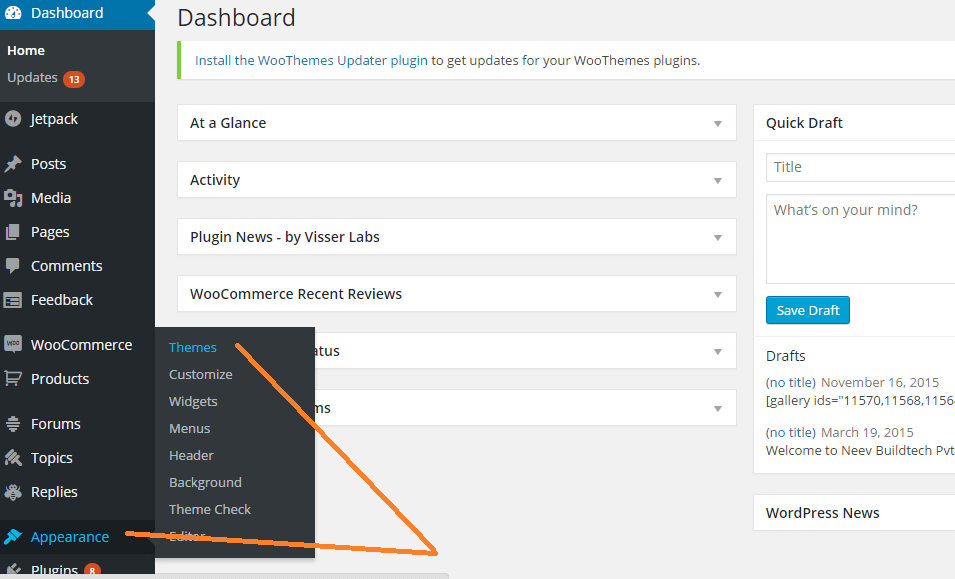
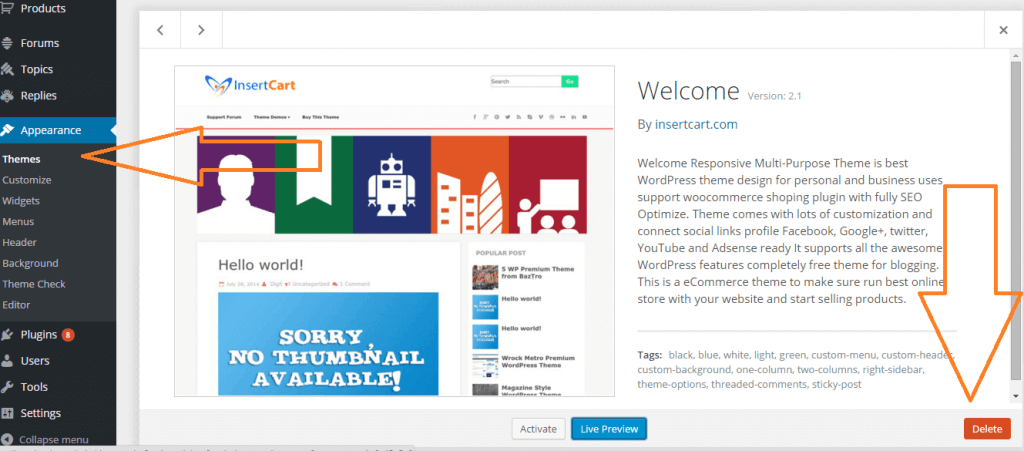
After login into website Dashboard > Appearance > Theme > Add New > Upload Theme > Choose file > Install now. After successful upload Activate the theme.
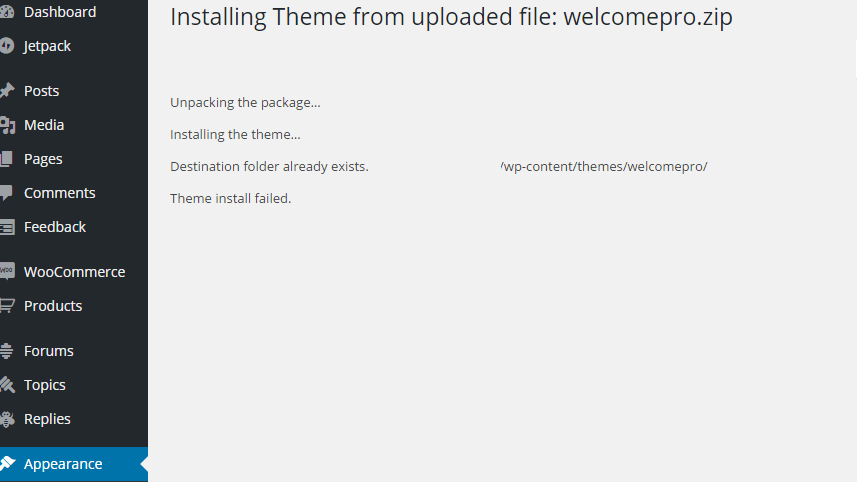
In any case if you get error like theme file or folder already exist then you need to remove previous version first.
Please Note: You must disable any caching plugin (like: w3tc, wp super cache) while setup theme because result might have some delay or not visible.
Also for first time setup you should restore default theme option to prevent any error or wrong value saved on database.
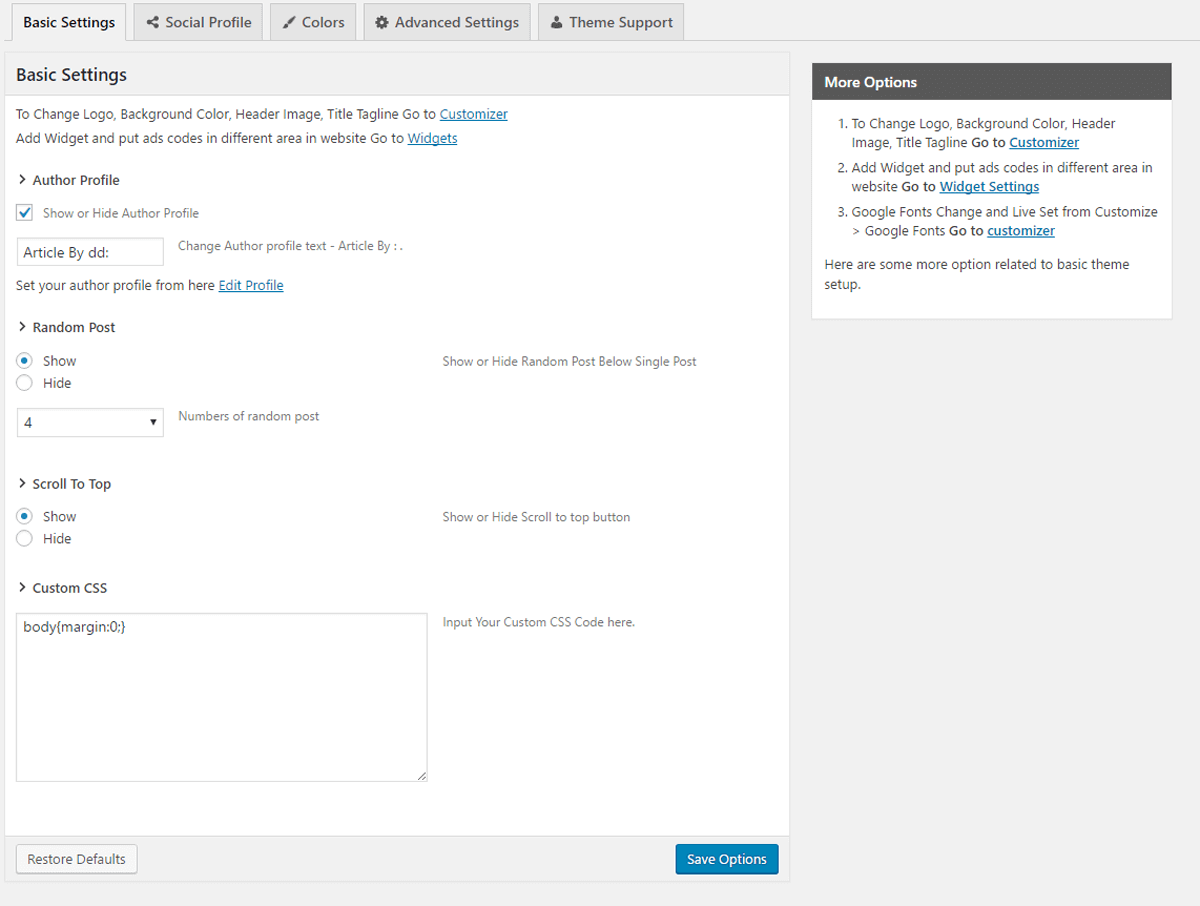
Basic Setup
After Theme Installation you need to do basic setup like Logo upload, Favicon upload, background etc.
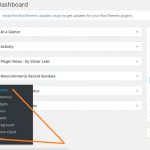
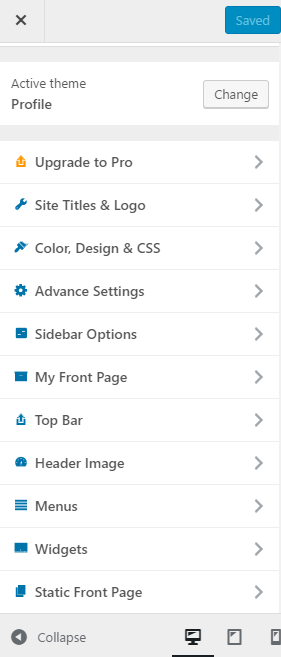
Go to Dashboard > Appearance > Cusromizer > Here you can find options to do basic setup and change in theme.
You can select individual post or page layout style from any post while editing or creating new post, by selection style from right side as shown in picture
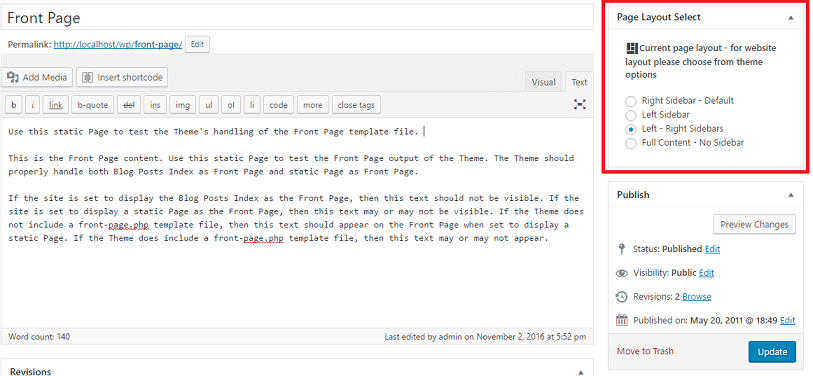
If you want to change layout of whole website then go to Theme Options and change layout from there if you selected single post then it will not overwrite settings.
Theme option in panel are not always fixed more options are always add to theme while update it just preview screenshot while making this documentation.
If you want to enable profile in sidebar on whole website then go to Customize via admin menu link or Dashboard > Appearance > Customize > Sidebar Options > Profile > Enable/Disable
Below is screenshot it will be displayed on website.
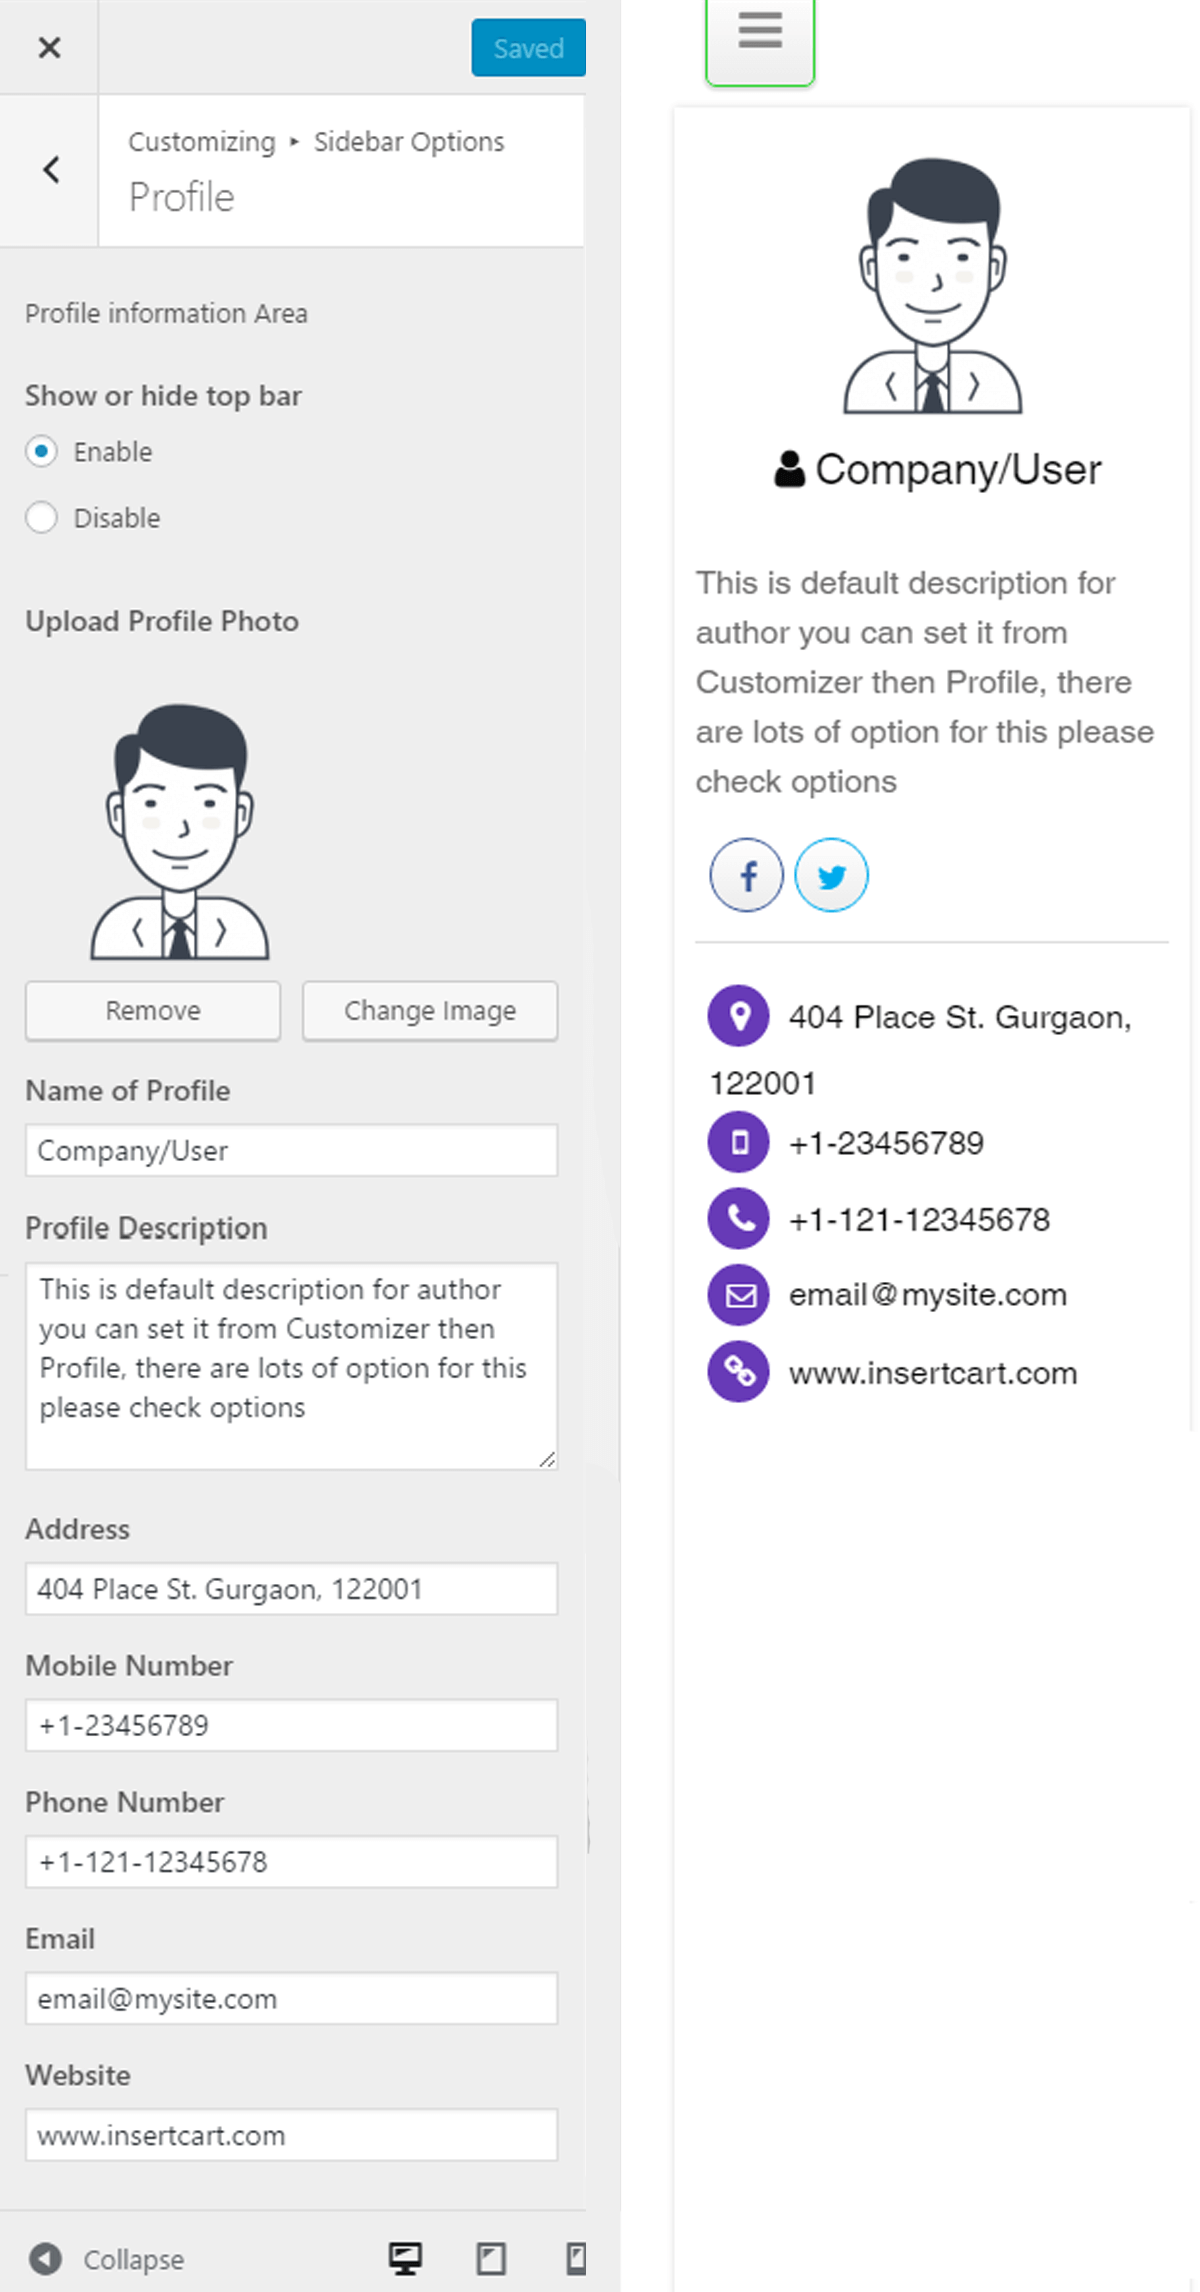
There some option present into this settings according to your requirement
- Enable/Disable – It help you to enable mean profile will be visible on website and disable to hide
- Upload a profile picture any you wish to.
- Name the profile or company
- Add description about this profile anything you like
- Address – Put you address if you wist to show anything here else remove it
- Mobile number – Add mobile if you wish to show it
- Phone number – Add phone number if you wish to show it
- Email – Add your email if you wish to show it
- Website – Add your website link if you wish to show it
If you want to enable profile in sidebar on whole website then go to Customize via admin menu link or Dashboard > Appearance > Customize > Sidebar Options > Process Icons > Choose here
Below is screenshot it will be displayed on website.
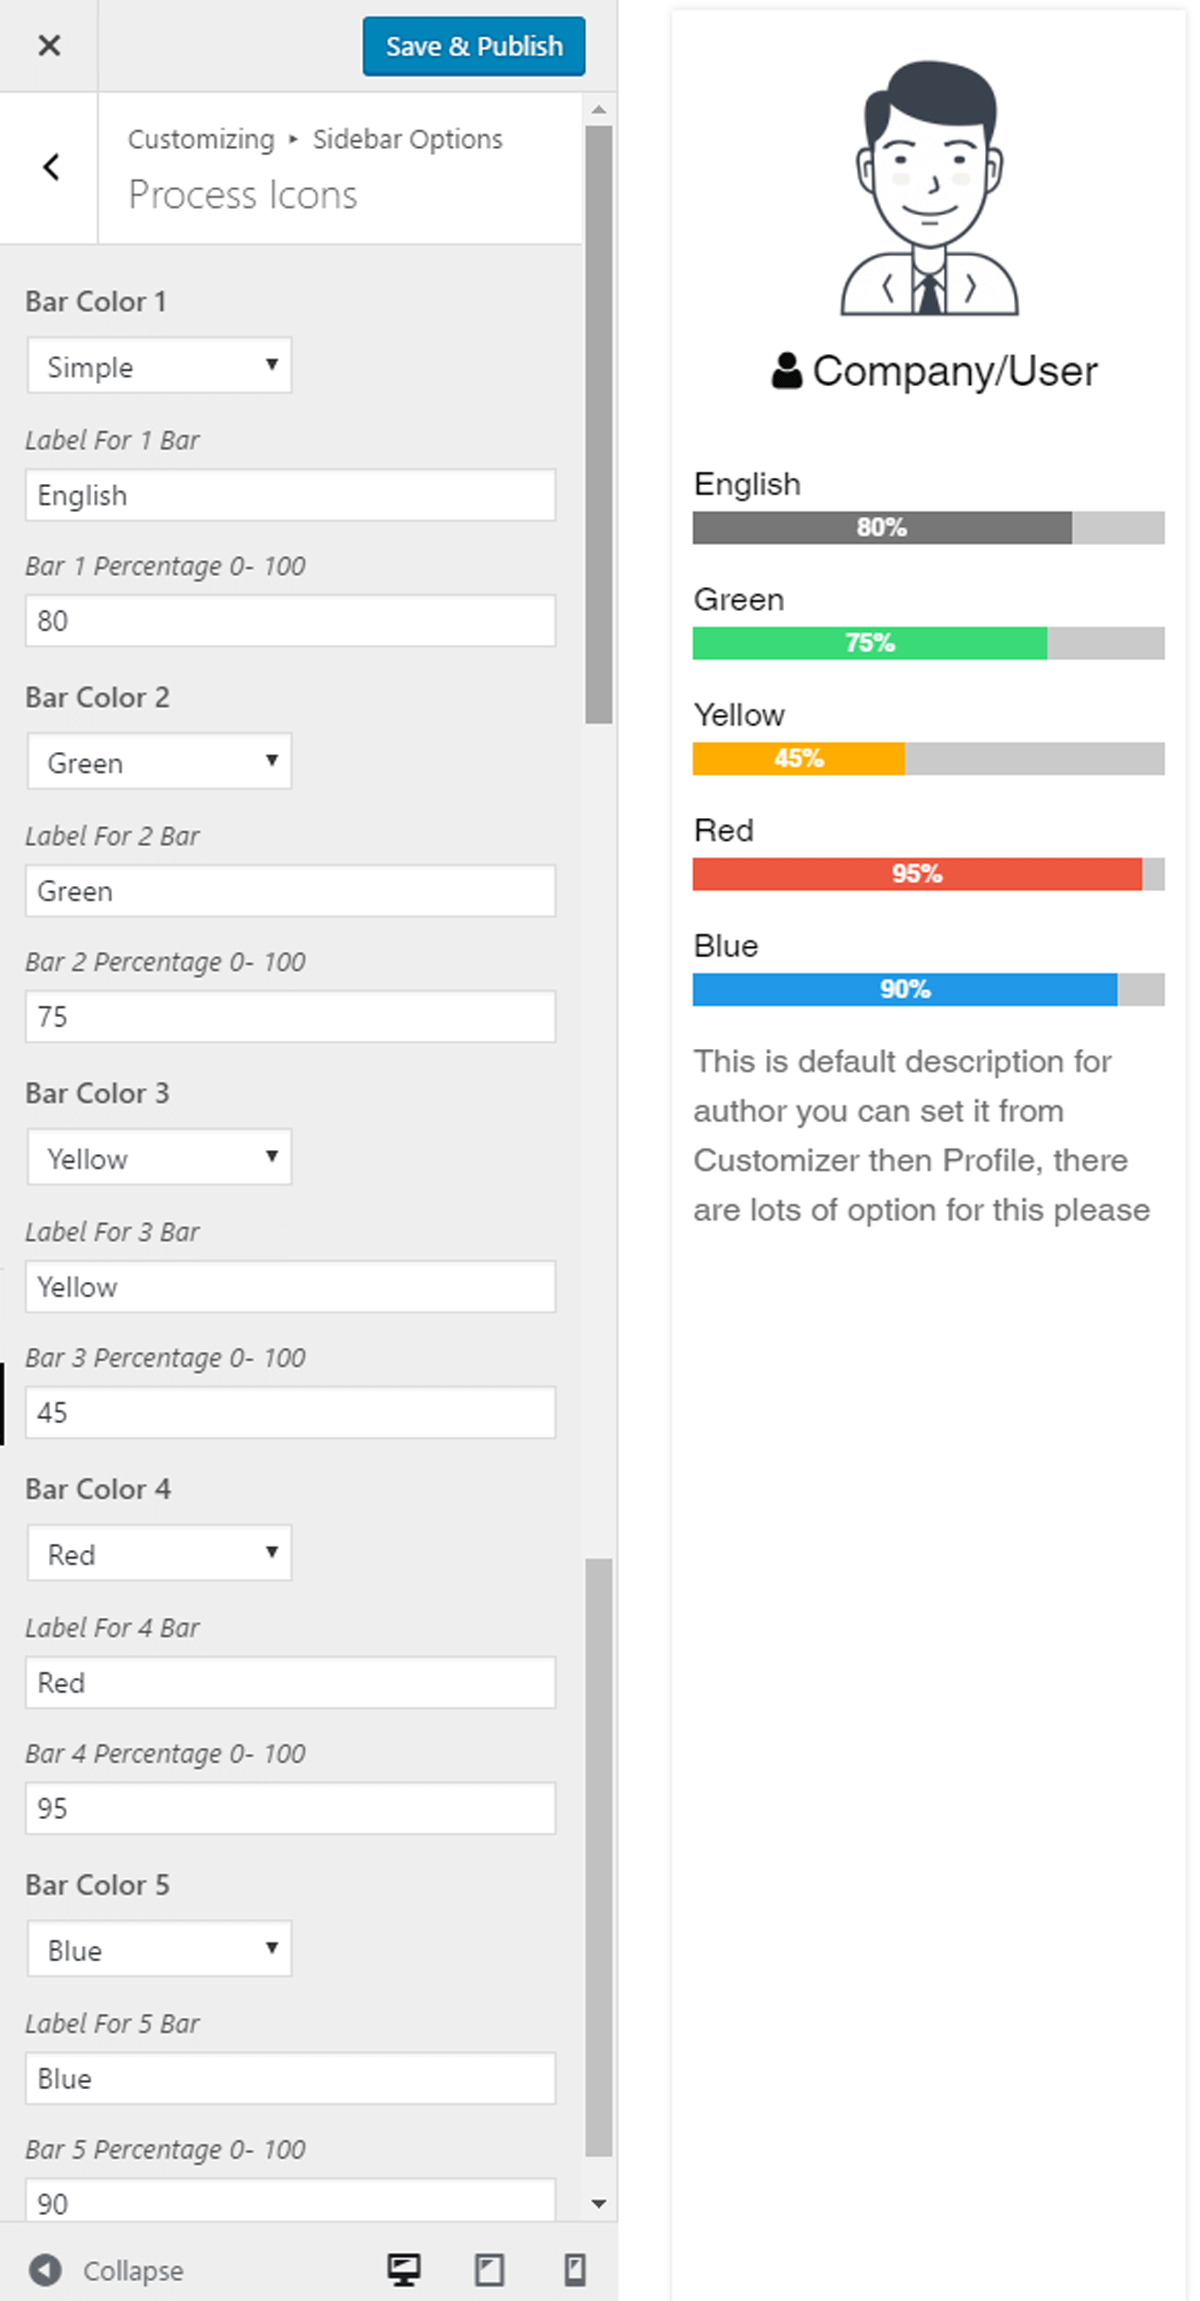
There some option present into this settings according to your requirement
- Bar Color – Choose process bar color to display
- Label – You can put label if you wish to like my skills
- Bar Percentage – Here from 0 to 100 any value you wish to.