
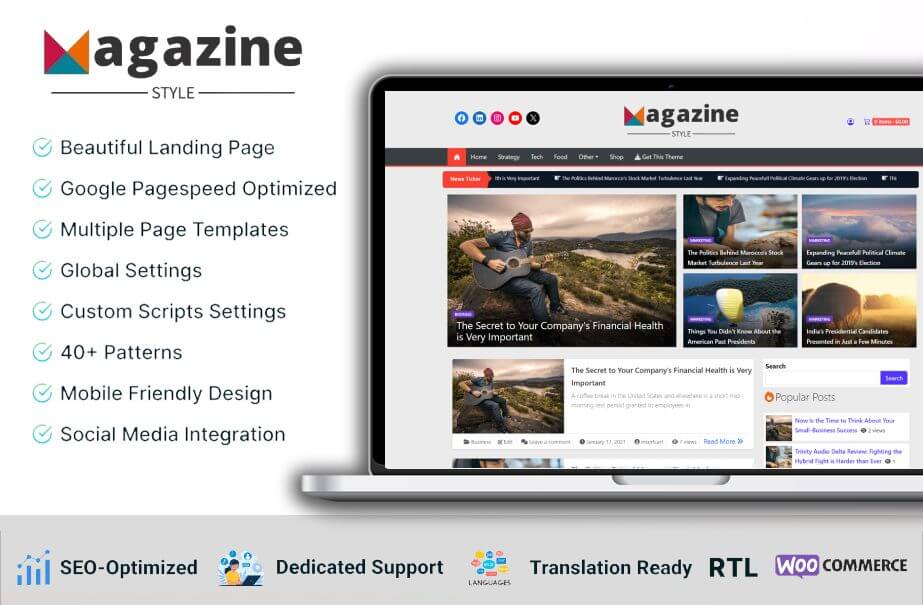


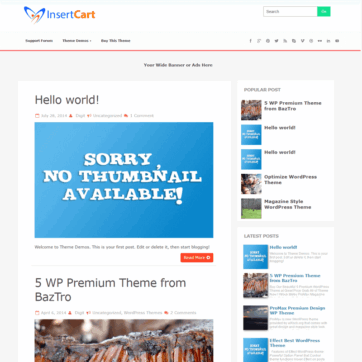
Magazine Style theme is the best WordPress style theme for your personal and business purposes. With full features for SEO optimization, this theme easily adapts to your mobile and desktop or any other device. The theme has lots of customization and connects easily with social media like facebook, google+, twitter, pinterest, rss, skype, vimeo, dribbble, flickr, linkedin, youtube and Adsense. It supports all the awesome WordPress features and works great for complex websites as well as blogging.
Features of Magazine Style WordPress theme
- Powerful Option Panel that Controls theme functions
- Change Google Fonts for the Title and Body separately
- Hover Effect on posts and Slider
- Optimized is Magazine Style WordPress Design
- Latest Posts Widget to show recent posts and items below the navigation
- Popular Post Widget for the right sidebar that comes with bigger thumbnails
- Advertise Management to show ads on header 728×90 and Single posts as you want
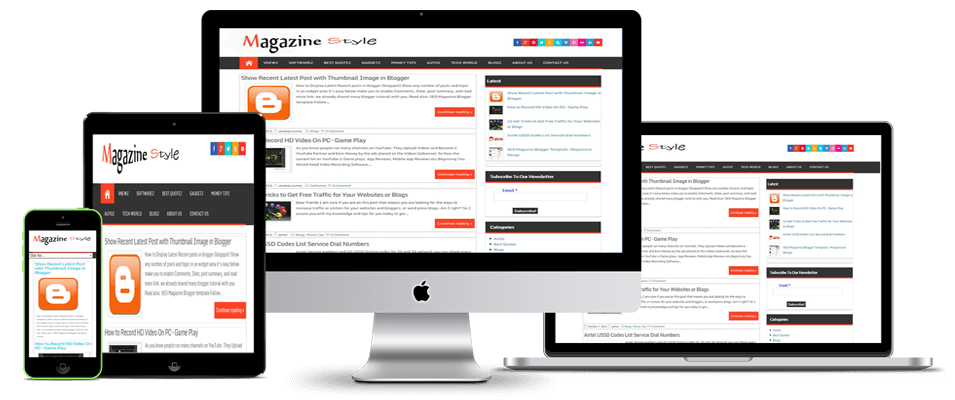
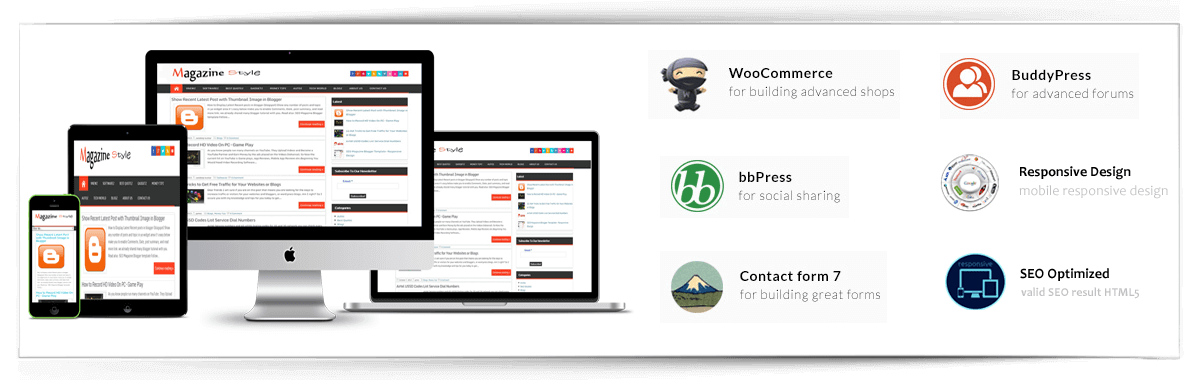
- Responsive design site looks great on Mobile and Tabs
- Google Adsense ready
- Also, support all awesome WordPress features
- Widget ready any type of widget can be displayed
- Multiple Drop down menu
- Compatible with all browsers: IE7, IE8, IE9, Google Chrome, Firefox, Opera, and Safari all Latest Browsers.
- Custom Background and custom header
- Custom Favicon URL
- Show Author Profile in Posts and Pages
- SEO Optimized WordPress Theme.
- Page Speed Optimize for better results.
- Custom Widgets and Functions.
- Many Other customize features for your blog or website.
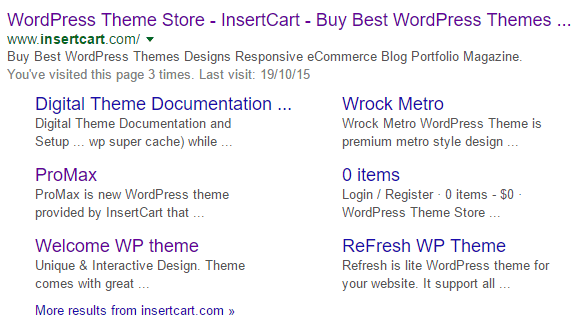
Google Website Structure and SEO Optimized

Android Browser Color Control


Karel –
Embedded YouTube video’s don’t show up on the homepage.
Sandy (verified owner) –
If you set front page than youtube video must display, Please provide your website and submit support ticket. On post blog listing youtube with will not display because it generate text excerpt only you need to show content instead.
Chris –
does the pro version have the option of loading demo content?
Sandy (verified owner) –
Theme demo content provided by Pro version you can download from your account as well (If you already purchased login and go to download area).
You can import Demo content from your website Dashboard > Tools > Import > WordPress Import > Then upload demo file and click on all attachment as well.
Kerry –
My theme not showing latest news and search bar on top
Sandy (verified owner) –
Yon need to enable theme from theme options when first time theme install, also please mention your website and theme version you are using. If still have issue please Contact us
Kuljeet Tiwana –
Please reply to my last query.
Sandy (verified owner) –
Can you please write you issue ? because I think I already replied to your email query.. Please check in email or junk folder
Kuljeet Tiwana –
Hello I have already post my blog and version of theme here. please reply asap.
Kuljeet Tiwana –
Hello, I am still waiting for your reply. Please let me know why I am not getting new updates of this theme as I have purchased it from you.
Sandy (verified owner) –
Current new version of theme is 4.4, please check with your theme also if you can’t get it from your website dashboard you can also download from account at Insertcart.com
Kuljeet Tiwana –
But why I am not getting update in my dashboard. Also I dont have login details for this site because I had purchased it in your starting days.
Sandy (verified owner) –
Update is provide by our personal server some times uses security server or wordpress don’t allow update from outside, Or a mismatch version details.. Please download file from account and upload theme. You need to remove old version So take backup of previous version as well.
If you forget password please reset it or contact us.
Kuljeet Tiwana –
I have tried to reset the password but I have not received a link to create a new password via email.
Sandy (verified owner) –
Dear kuljeet tiwana, if you are talking about before jan. 2014 that time we distribute free version on donation bases, So we don’t have record if you can send me invoice or any thing please email to [email protected] , Otherwise you have to purchase again.
Kerry –
No it’s not a free version. I have purchased it in $10 when it is newly launched and you promised me to give life time update for it.
Sandy (verified owner) –
If it’s paypal transfer please send me invoice pic. Or date of transaction, You can also check your email. That’s all I will register your account here, Send me email at [email protected]
We have transferred our company and users data since 2013, so it’s hard to find that you purchased or note. Hope you understand
Kerry –
It is also hard for me to find that things but I can assure you that I have purchased it because I am using premium features this theme which are available only in paid version. I can send you screen shots if you need. so please try to understand my situation and provide me latest version.
Sandy (verified owner) –
Ok , I have placed your order please download file and install. Login using your email id also reset your password
Kerry (verified owner) –
Thanks buddy!
Tom Raymond –
I can’t get horizontal rules to display — is there something that I’m missing?
Sandy (verified owner) –
Please contact at admin[@] insertcart.com with more details like website or screenshot
Kerry (verified owner) –
Hello,
I have paid version of this theme but now I am not getting update to latest version. Please advice.
Sandy (verified owner) –
Which theme version you are using ?
Bryan –
Bonjour. Sur la page d’accueil serait-il possible de pouvoir cliquer sur les miniatures des articles afin que la photos s’affiche en grand ?
Ou connaissez-vous un plugin pour le faire ?
Cordialement
Sandy (verified owner) –
hi I used translator,
If I get it right you want Images to display full on click, But I suggest you to create a Page or post then add some images into it as gallery. If you still want to make clickable zoom on thumbnail this is also possible using custom codes.