
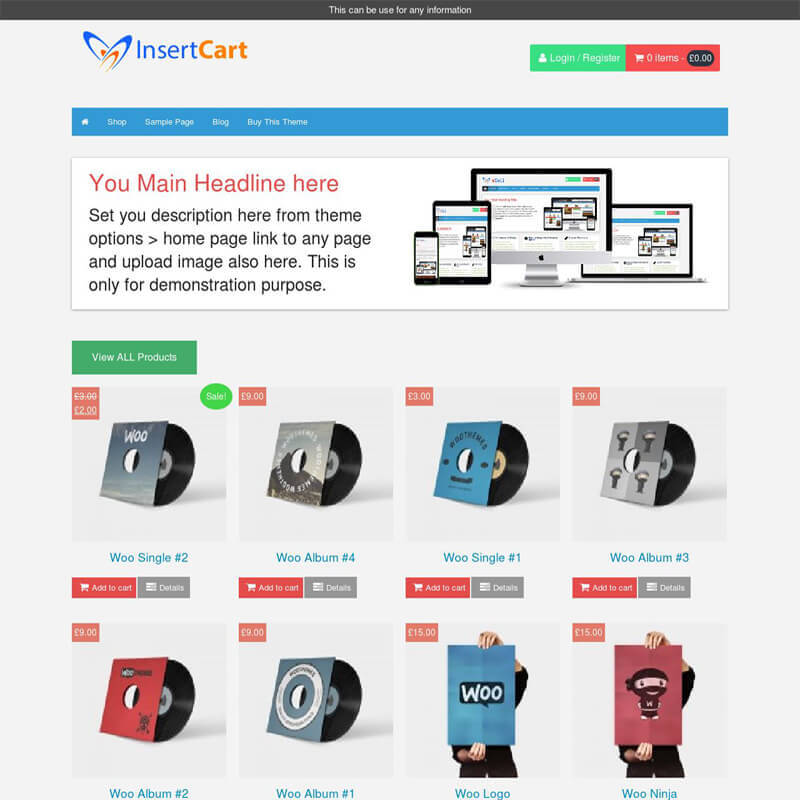


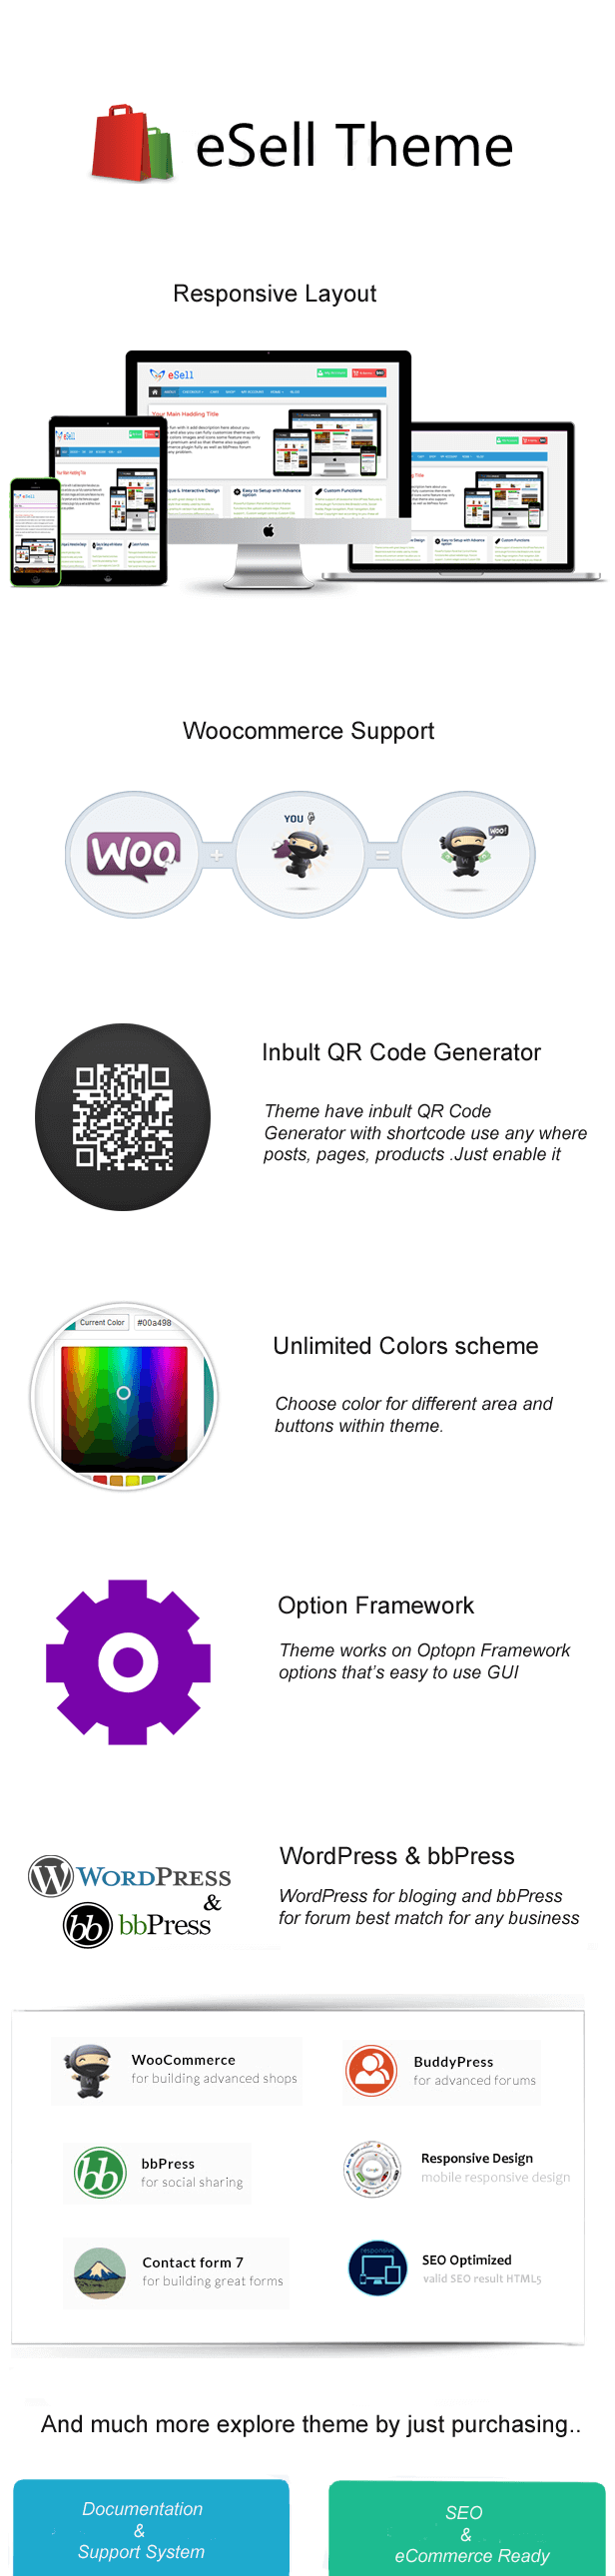
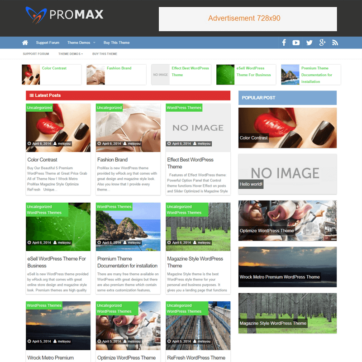
eSell WordPress theme provides all features that online store should have it’s a great designed theme with magazine style look for your blog. Our premium themes are high quality fully SEO optimize and comes with easily connect to social media and HTML5 Ready. May be you are running personal blog or business website theme work for any purpose it’s multipurpose theme.
Theme is also Fully Support WooCommerce so start selling products with it. Easy to customize custom checkout pages, user registration template and fast responsive style. Change custom text of Add to card or Info and Demo Buttons even customize color according to your needs everything under your control using theme option provide within theme.

Features of eSell WordPress theme:
- Powerful Option Panel that Control theme functions
- Optimized is Magazine Style WordPress Design
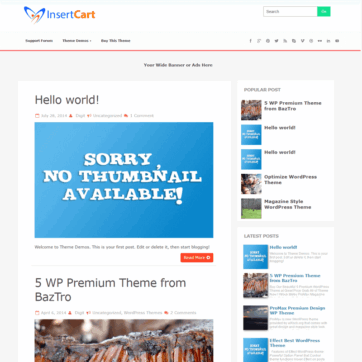
- Latest Posts Widget to show recent posts and items below navigation
- Popular Post Widget for right sidebar that comes with bigger thumbnails
- Advertise Management to show ads on header 728×90 and Single post as you want
- Responsive design site looks great in Mobile and Tabs
- Google Adsense ready
- Also support all awesome WordPress features
- Widget ready any type of widget can be displayed
- Multiple Drop down menu
- Compatible with all browsers: IE7, IE8, IE9, Google Chrome, Firefox, Opera and Safari all Latest Browsers.
- Custom Background and custom header
- Custom Favicon url
- Show Author Profile in Posts and Pages
- SEO Optimized WordPress Theme.
- Page Speed Optimize for better result.
- Custom Widgets and Functions.
- Many of Other customize feature for your blog or website.

jason (verified owner) –
How do i get the template to like the sample template? Seem to be going in circles. Thanks
jason (verified owner) –
Just trying to set up the small thumbnails, thanks
Maryann (verified owner) –
I bought the theme but was having trouble with WordPress so I switched to the storefront. Is this theme compatible with woocommerce?
Sandy (verified owner) –
Yes theme is compatible with woocommerce plugin completely.
Maryann (verified owner) –
I also want to know is this theme compatible with the new version of wp. 4.2? Thanks
Sandy (verified owner) –
Yes, with any latest version of wordpress theme works prefecture, if any issue with theme let me know the details of issue, on contact form or support forum
Matimax –
Does it support RTL (right to left)?
Sandy (verified owner) –
Yes all of our theme support RTL. If you find any issue let me know
Matimax –
I have your digital pro theme but it doesn’t support that, everything looks messy RTL.
This one is better or should I make a change in the CSS or something?
My email: [email protected]
James –
Hi. Trying to disable “quick Checkout” option from theme option, but the button is still very much there and active. I tried it on 2 different websites, still no luck… anyway I can disable it manually?
Sandy (verified owner) –
Make sure you have latest version of theme, currently 4.4 version is live, if not please download and update theme.